How to Customize Windows Context Menu
Customizing your Windows operating system can significantly enhance productivity and streamline daily tasks. One of the most overlooked yet powerful features is the context menu, which allows users to quickly access frequently used commands or applications directly from their right-click options. Understanding how to customize the Windows context menu can transform a generic computing experience into a tailored one that suits your specific needs and preferences.
- Introduction to Customizing Windows Context Menu
- Why Customize Your Windows Context Menu?
- Getting Started: Understanding the Basics
- How to Customize Windows Context Menu: Step-by-Step Guide
- Advanced Techniques for Customization
- Using Third-Party Tools and Software
- Common Pitfalls to Avoid When Customizing the Context Menu
- Best Practices for Maintaining a Customized Context Menu
- Conclusion
Introduction to Customizing Windows Context Menu
Windows provides an extensive range of customization options that go beyond the visual appearance of your desktop and start menu. One such area is the context menu, a versatile feature that lets you interact with files and folders more efficiently by adding shortcuts or commands directly to the right-click menu. This article delves into the nuances of how to customize Windows context menu, offering practical insights for both novice users and seasoned administrators.
Why Customize Your Windows Context Menu?
The primary reason behind customizing your Windows context menu is efficiency. By adding commonly used commands or applications, you can reduce the number of clicks required to perform certain tasks. This leads not only to increased productivity but also to a more streamlined user experience that aligns with your workflow and preferences.
Enhancing Productivity
Incorporating frequently accessed tools such as Zip/Unzip utilities, file renaming shortcuts, or document converters into the context menu can drastically improve efficiency. For instance, a simple right-click operation to unzip multiple files simultaneously saves time compared to navigating through folders and applications.
Personalizing Your Environment
The ability to personalize your computing environment by adding custom commands fosters a sense of ownership over your system. This customization can make your interactions with Windows more intuitive, thereby reducing the learning curve for new software or tools.
Getting Started: Understanding the Basics
Before diving into how to customize Windows context menu, it’s essential to familiarize yourself with some fundamental concepts and tools. This section provides an overview of registry keys, shell extensions, and other components that interact with the context menu.
The Role of Registry Keys in Customization
Registry keys play a critical role in configuring various aspects of your Windows system, including the right-click menus. Specific entries dictate which commands appear for different file types or directories.
Shell Extensions: The Backbone of Context Menu Integration
Shell extensions enable third-party applications to inject custom functionality into the context menu. Understanding how these work is crucial when you want to integrate advanced features from software tools.
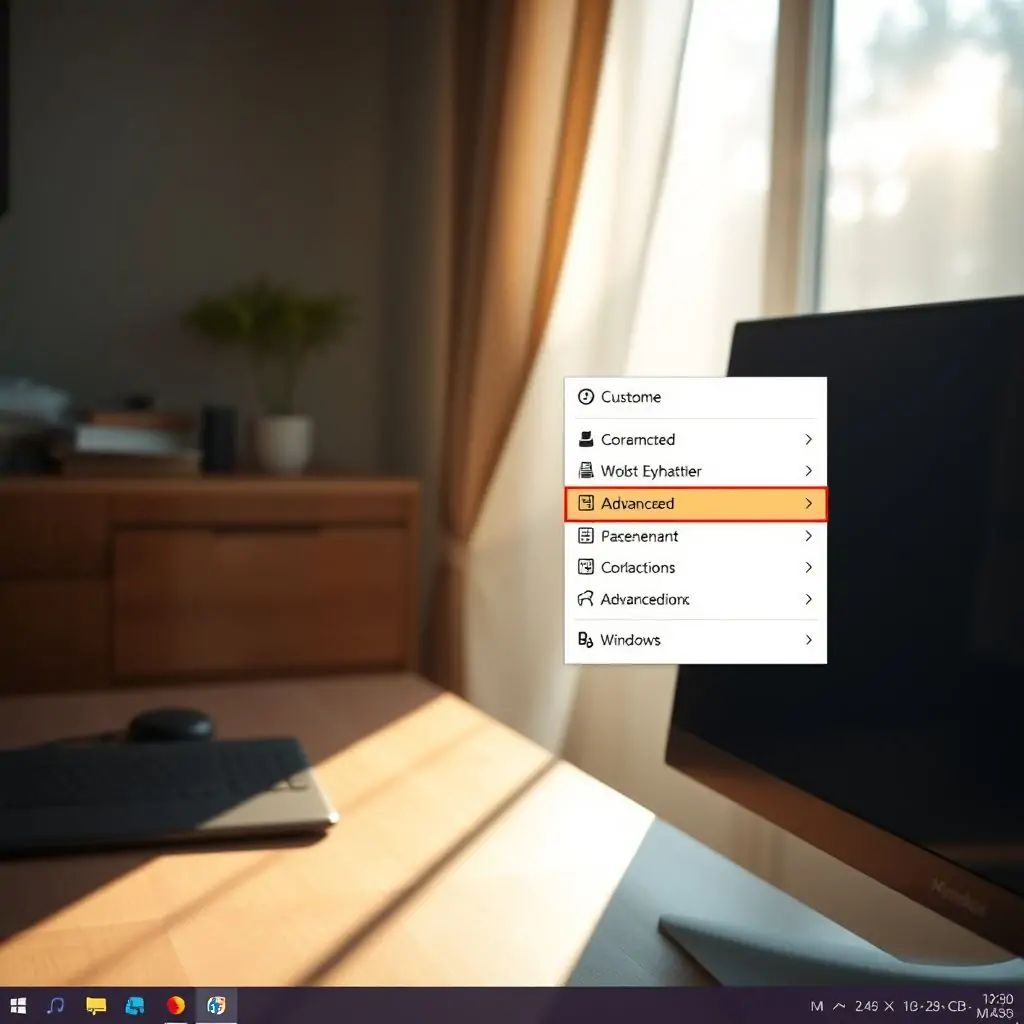
How to Customize Windows Context Menu: Step-by-Step Guide
Customizing your context menu involves modifying registry entries and shell extensions, processes that might seem daunting at first glance. However, with a structured approach, you can achieve significant improvements in user experience without compromising system stability.
Modifying Registry Entries
- Open the Registry Editor: Start by pressing “Windows + R”, type ‘regedit’, and hit Enter to launch the editor.
- Navigate to Relevant Keys: Explore branches like HKEY_CLASSES_ROOT\Directory\shell or HKEY_LOCAL_MACHINE\Software\Classes for directories or files, respectively.
- Add New Commands: Right-click in an open space within the selected key and choose “New > Key” to add a new command. Customize it with your desired functionality using sub-keys like “command” and “MUIVerb”.
Using Shell Extensions
To integrate third-party applications into the context menu, consider tools such as Context Menu Tools, which streamline this process.
Advanced Techniques for Customization
For users seeking deeper customization beyond basic modifications, several advanced techniques can be employed to refine your Windows context menu further. These include scripting automation and leveraging Group Policy Objects (GPOs).
Scripting Automation with PowerShell or VBScripts
Powershell scripts offer a flexible way to automate complex registry modifications and update contexts dynamically based on user conditions.
Leveraging GPO for Centralized Customization
- Setting Up GPO: In an enterprise environment, deploying customized context menus across multiple machines can be efficiently handled through Group Policy Objects (GPO).
- Create a new GPO and navigate to Computer Configuration > Policies > Windows Settings > Scripts (Startup/Shutdown). Here you can deploy scripts that modify the registry or install shell extensions.
Using Third-Party Tools and Software
While modifying registry entries manually is effective, it requires careful handling to avoid system instability. To mitigate risks and simplify the process, numerous third-party tools offer user-friendly interfaces for customizing Windows context menu.
Popular Context Menu Enhancers
- NirCmd: A command-line utility that allows you to modify various system settings, including adding items to the context menu.
- Stardock’s ObjectDock: Offers extensive customization options for the Windows toolbar and context menus through a highly intuitive interface.
Common Pitfalls to Avoid When Customizing the Context Menu
While customizing your context menu offers numerous benefits, it’s crucial to be mindful of potential issues that could arise from incorrect modifications. Key among these is maintaining system stability and avoiding conflicts with existing software.
Maintaining System Stability
Always back up the registry before making changes and test new additions in a controlled environment to ensure no adverse effects.
Avoiding Software Conflicts
- Check for Compatibility: Ensure any third-party tool or software you plan on integrating is compatible with your current system configuration.
- Monitor Performance and Functionality: Keep an eye out for unexpected behavior such as sluggish performance, incorrect command execution, or missing context menu items post-modification.
Best Practices for Maintaining a Customized Context Menu
To ensure your customized context menu remains functional and beneficial over time, adhere to best practices that include regular maintenance, updates, and security checks. This proactive approach helps preserve the integrity of your system while continuing to enhance usability.
Regular Maintenance and Updates
- Schedule Periodic Reviews: Revisit your custom context menu settings periodically to check for any issues or conflicts that may have arisen with new software installations.
- Keep Software Up-to-Date: Regularly update the tools and utilities used in customization processes to ensure compatibility with the latest Windows versions.
Safeguarding Against Security Risks
- Avoid Unverified Tools: Stick to reputable third-party applications and avoid installing software from untrusted sources that may introduce vulnerabilities.
- Leverage Built-in Windows Features: Utilize native security features such as User Account Control (UAC) to monitor changes made by external tools.
Conclusion
Mastery over your computing environment begins with understanding how to customize the Windows context menu. This customization not only boosts productivity but also personalizes your interaction with the operating system, making it more intuitive and efficient for daily use. Whether you’re a novice user looking to simplify your workflow or an IT professional aiming to enhance security through centralized management, these tips provide valuable insights into tailoring your right-click experience.

- Tool Engines
- How to Customize Windows Context Menu April 10, 2026
- Guide to Using Dynamic Lock on Windows April 10, 2026
- Fix Slow File Explorer Performance in Windows April 10, 2026
- How to Use Windows Subsystem for Linux (WSL) April 10, 2026
- Best Free Tools to Manage Windows Drivers April 10, 2026