How to Create a Bootable macOS Installer USB
Creating a bootable macOS installer USB drive is an essential task for anyone managing Mac computers. This process ensures that you have the necessary tools to reinstall macOS in case of system failure, update your OS to a new version, or even install it on a fresh Mac computer. In this article, we will guide you through How to Create a Bootable macOS Installer USB, providing detailed steps and expert insights.
Table of Contents:
- What is macOS?
- Requirements for Creating a Bootable macOS Installer USB
- Preparation Work Before Starting the Process
- Downloading the macOS Installer from App Store
- How to Create a Bootable macOS Installer USB (Detailed Steps)h2>
- Additional Tips for Using Your New Bootable macOS Installer USB
- Troubleshooting Common Issues During Installation
What is macOS?
macOS, formerly known as OS X and Mac OS X, is the operating system developed by Apple Inc. for its Macintosh line of computers. It serves as a graphical user interface built on Darwin, an open-source framework created from combining various free software projects with components from NeXTSTEP.
Requirements for Creating a Bootable macOS Installer USB
To create a bootable macOS installer USB drive, you will need the following:
- A USB flash drive of at least 16GB in capacity. The larger the better if your goal is to store multiple versions or additional recovery tools.
- An existing Mac running on a version of macOS that includes the latest installer for the version you want to install (e.g., Big Sur, Monterey).
Pro Tip: Backup Data Before Starting
Before proceeding with any major system changes like creating a bootable macOS Installer USB or installing new software updates, it’s crucial to back up all important data using Time Machine or another reliable backup solution.
Preparation Work Before Starting the Process
Before you start making your USB drive bootable with macOS installer files, there are several preparatory tasks to complete:
- Erase and Format the USB Drive: Open Disk Utility on your Mac (found in /Applications/Utilities/Disk Utility.app) and select your USB device. Choose “Erase” and format it as a Master Boot Record with exFAT file system.
Downloading the macOS Installer from App Store
To obtain the necessary installer files, you need to download them from Apple’s Mac App Store:
- Open the App Store on your Mac and sign in if prompted.
- Browse through the “Updates” section where you will likely find a macOS installer (depending on which version of macOS you have).
- Click on “Install”, follow instructions to install it onto your system, but don’t proceed further until you’re ready to create your bootable USB.
How to Create a Bootable macOS Installer USB (Detailed Steps)
To begin making the installer USB drive, follow these steps:
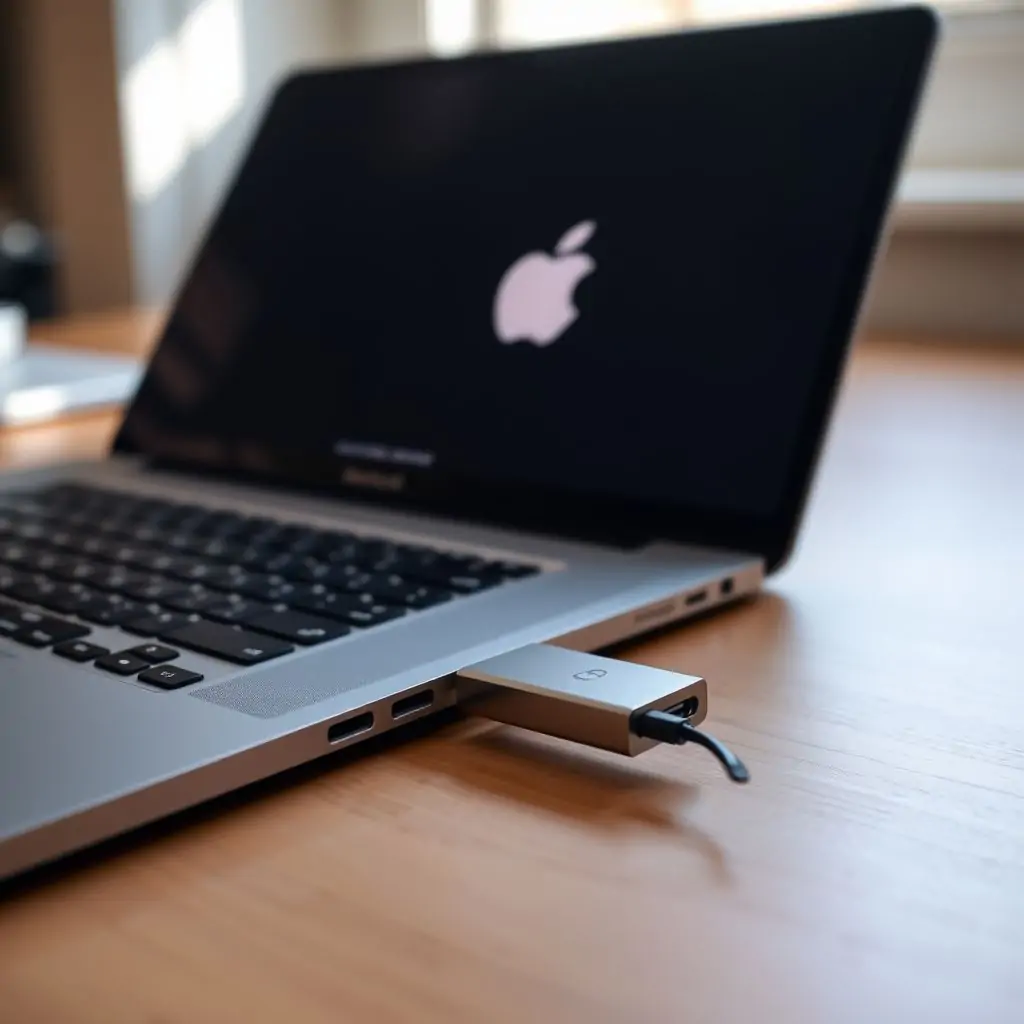
- Insert your formatted and prepared 16GB or larger USB flash drive into one of the available ports on your Mac.
- In Terminal.app (/Applications/Utilities/Terminal), type: `sudo /Applications/Install\ macOS\ Big\ Sur.app/Contents/Resources/createinstallmedia –volume /Volumes/Untitled` (Replace “Big Sur” with the name of the installer you have and “Untitled” to match your USB drive label).
- Press Enter, type your administrator password when prompted, then wait for the process to complete.
Pro Tip: Use Reliable Software Tools
If you prefer a GUI method over Terminal commands, consider using third-party tools like Disk Utility Pro, which simplifies the process by offering a straightforward interface.
Additional Tips for Using Your New Bootable macOS Installer USB
Once you’ve created your bootable installer, here are some tips to ensure its effective use:
- Test It Before You Need it: Try booting from the installer on another Mac if possible. This will help identify any potential issues before they become critical.
- Maintain the Latest Version: Periodically update your bootable USB to keep up with new macOS versions and security patches as released by Apple.
Troubleshooting Common Issues During Installation
Here are some common issues users face when creating or using a bootable installer and how to resolve them:
- The Installer Won’t Run on USB: Ensure that your USB drive is properly formatted as MBR with exFAT.
Pro Tip: Utilize Recovery Mode for Further Assistance
In case of persistent issues, boot into recovery mode by restarting your Mac while holding down Command + R keys. From there, you can access various tools including Disk Utility to diagnose and fix problems.
Conclusion:
Making a bootable macOS Installer USB drive is a vital skill for managing and maintaining Apple computers effectively. With detailed steps outlined in this guide on How to Create a Bootable macOS Installer USB, users can now confidently tackle OS reinstalls, upgrades, or even installing macOS on new hardware.
Following these instructions closely and adhering to best practices ensures reliability when dealing with critical system operations. Always refer back to official Apple support documents for the most up-to-date information and further guidance.

- Tool Engines
- Best Linux Distributions for Beginners March 27, 2026
- Guide to macOS Terminal Commands for Beginners March 27, 2026
- How to Create a Bootable macOS Installer USB March 27, 2026
- Fix Common Safari Problems on Mac March 27, 2026
- How to Use Split View and Multitasking on macOS March 27, 2026